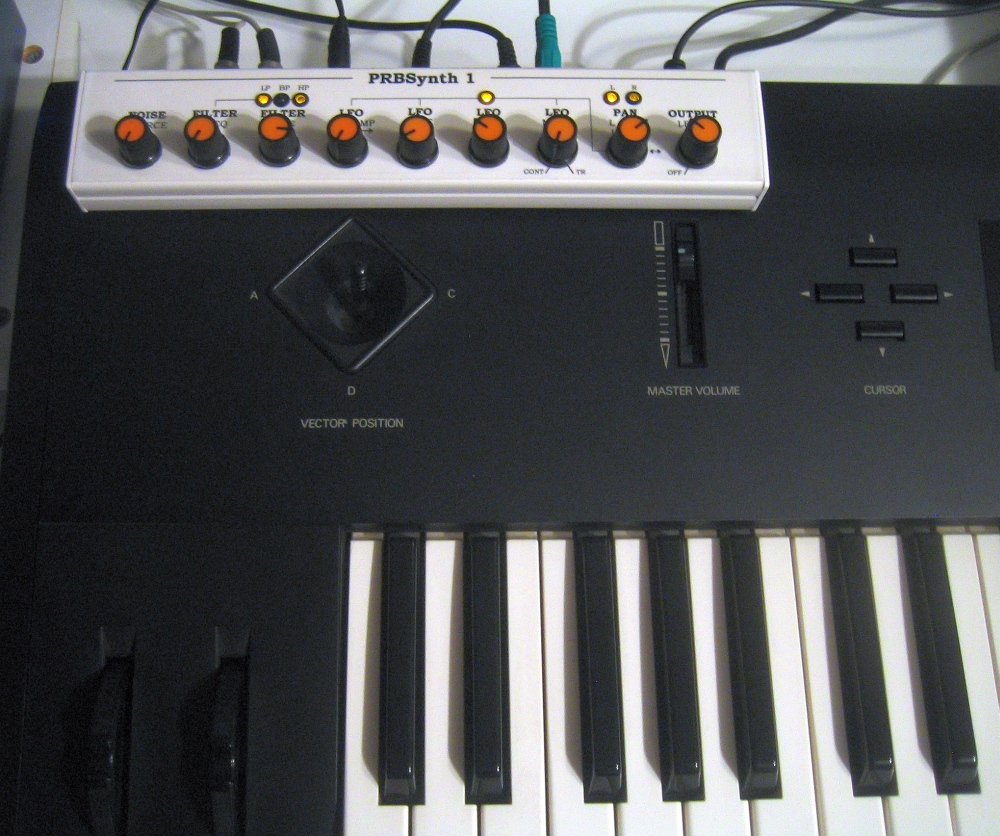
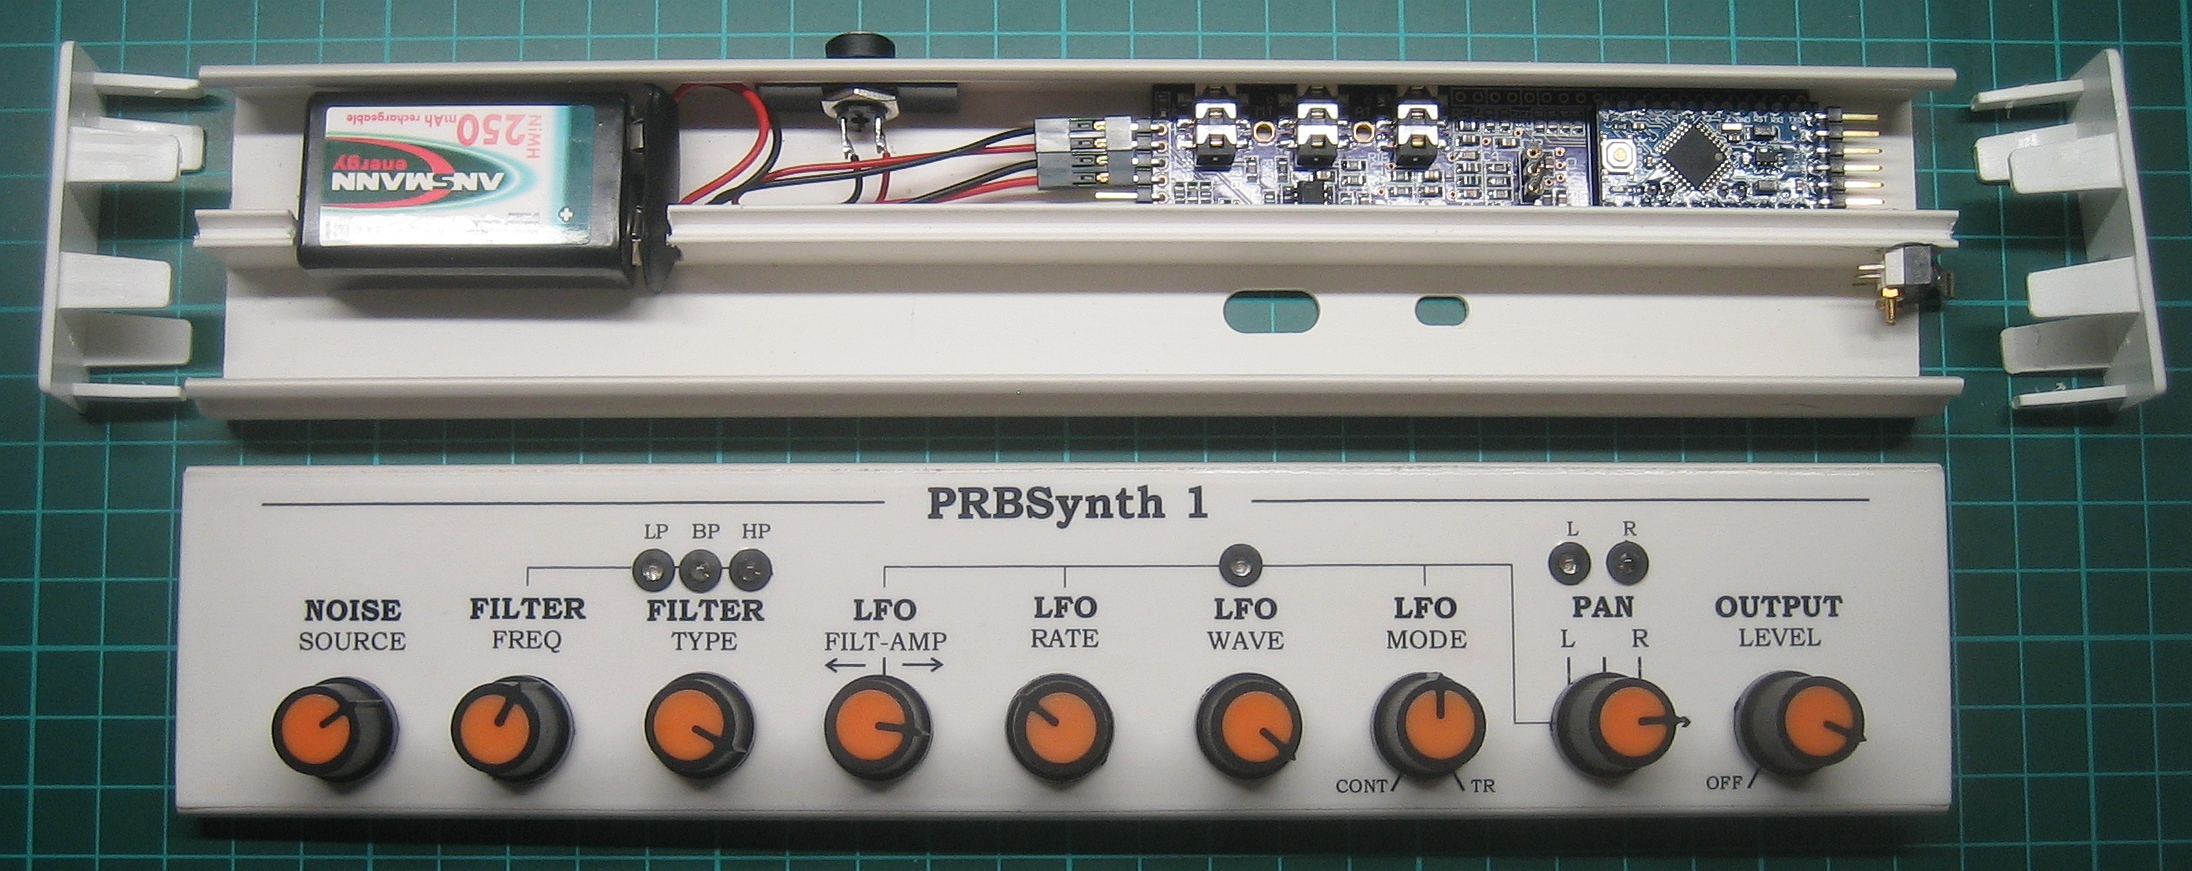
Synthesizer dedicated to generating noise based sounds and effects. No samples inside, just shaping noise. Example video, sounds and demo songs on this page. Schematics, PCB files and source-code can be found below. Case made from a cableguide strip with end caps and a transparent sticker on top (printed with inkjet printer) :

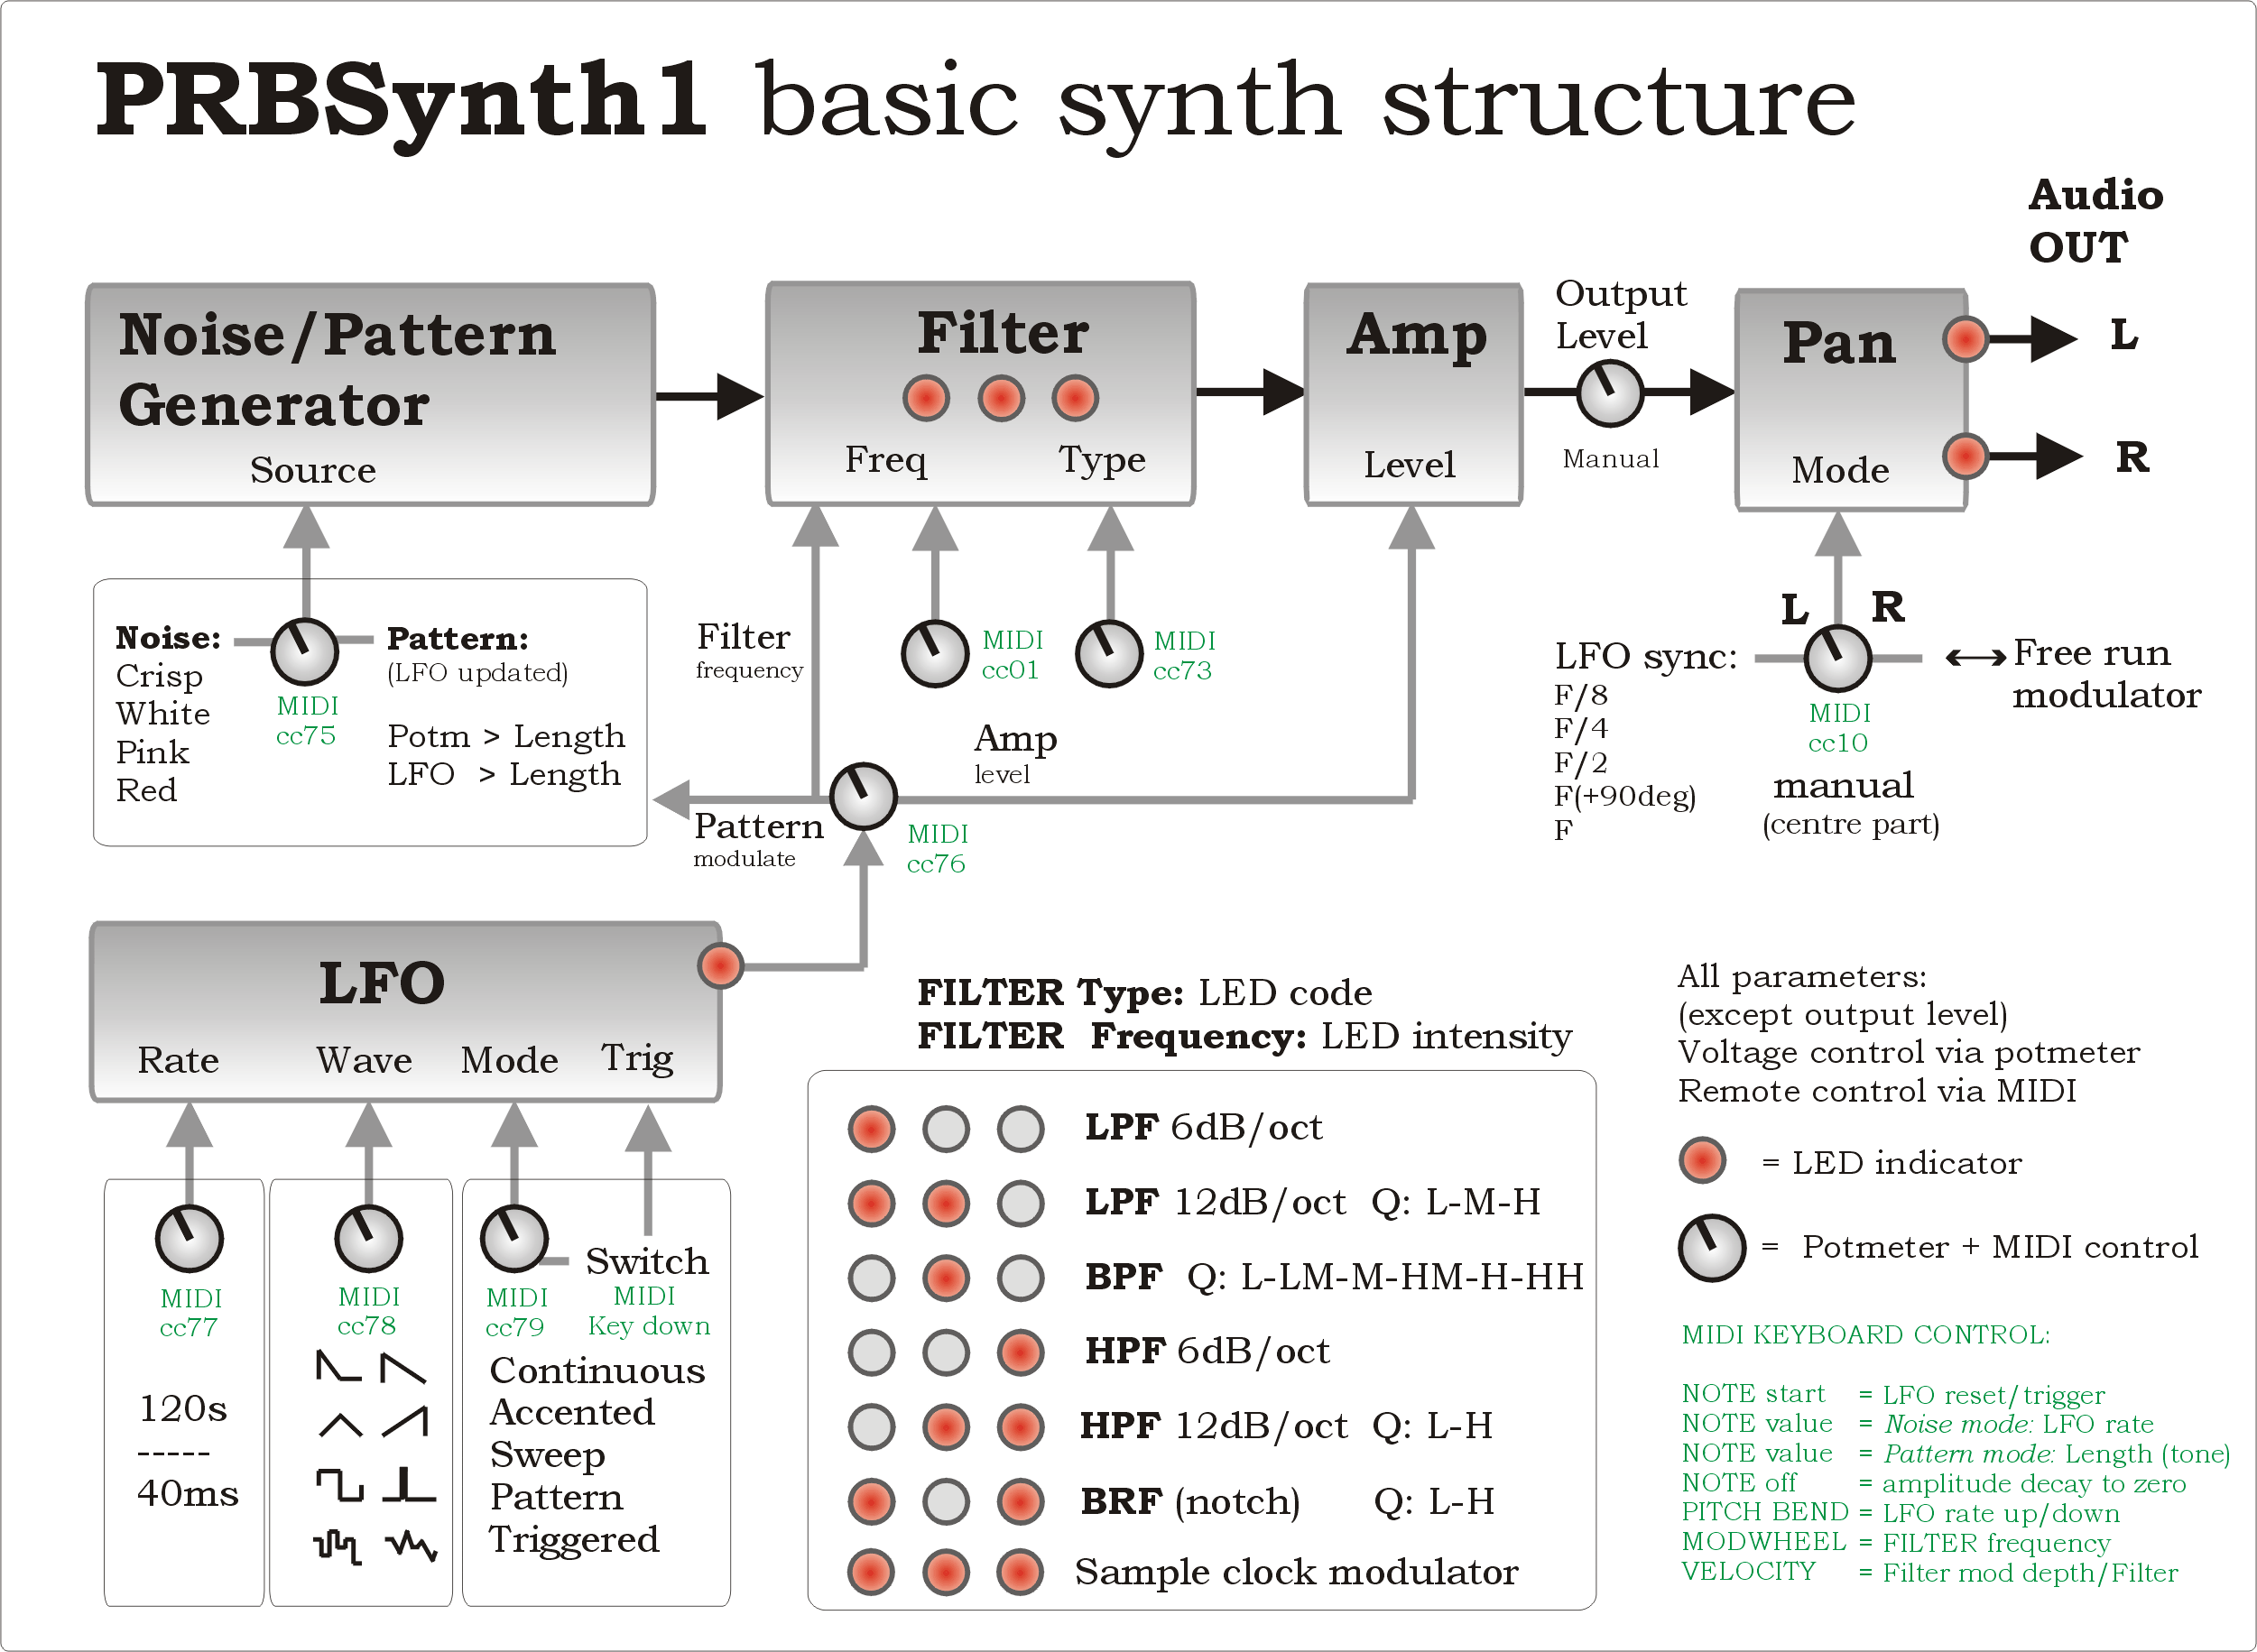
PRBSynth1 concept: A noise and random pattern generator followed by a filter (LP/BP/HP/BR), amplitude control and a stereo panning circuit. An LFO modulates filter/amplitude/patterns. Potmeters control all sound parameters using voltages (no menus). Values can also be set via MIDI controllers (except the output level potmeter).
Patterns can be played as musical notes via MIDI. Runs on internal rechargeable battery or external 9V adapter.
Example "songs"
PRBSynth playing all noise sounds, Monoladder1 bass, Wavestation chords :
"Red sea"
Red noise via sweeping filter
"Pink beat"
MIDI control creating rhythmic noise patterns
"Distant machine"
PRBSynth1 doing machine wobble and noise fx
Individual sound examples:
no sequencing, only using knobs
Noise mode examples:
noise drum (LFO beat mode)
airplane phasing (BR filter)
frying an egg (crackle noise)
rain (crackle noise)
resonant steps(LFO random)
LFO rate sweep and pan
wind
wind + echo added
High Q filtersweep on noise
from saw to engine
hihat (LFO beat mode)
square beat (LFO beat mode)
beach
Red/pink/white noise
+ beat mode using them:
3 noise colors
noise changing into patterns:
noise patttern demo
Pattern mode examples:
classic synth bass1
classic synth bass2
patttern beat
dr Who space effects
LFO 2step filter modulation
sample clock modulation example:
clock warp

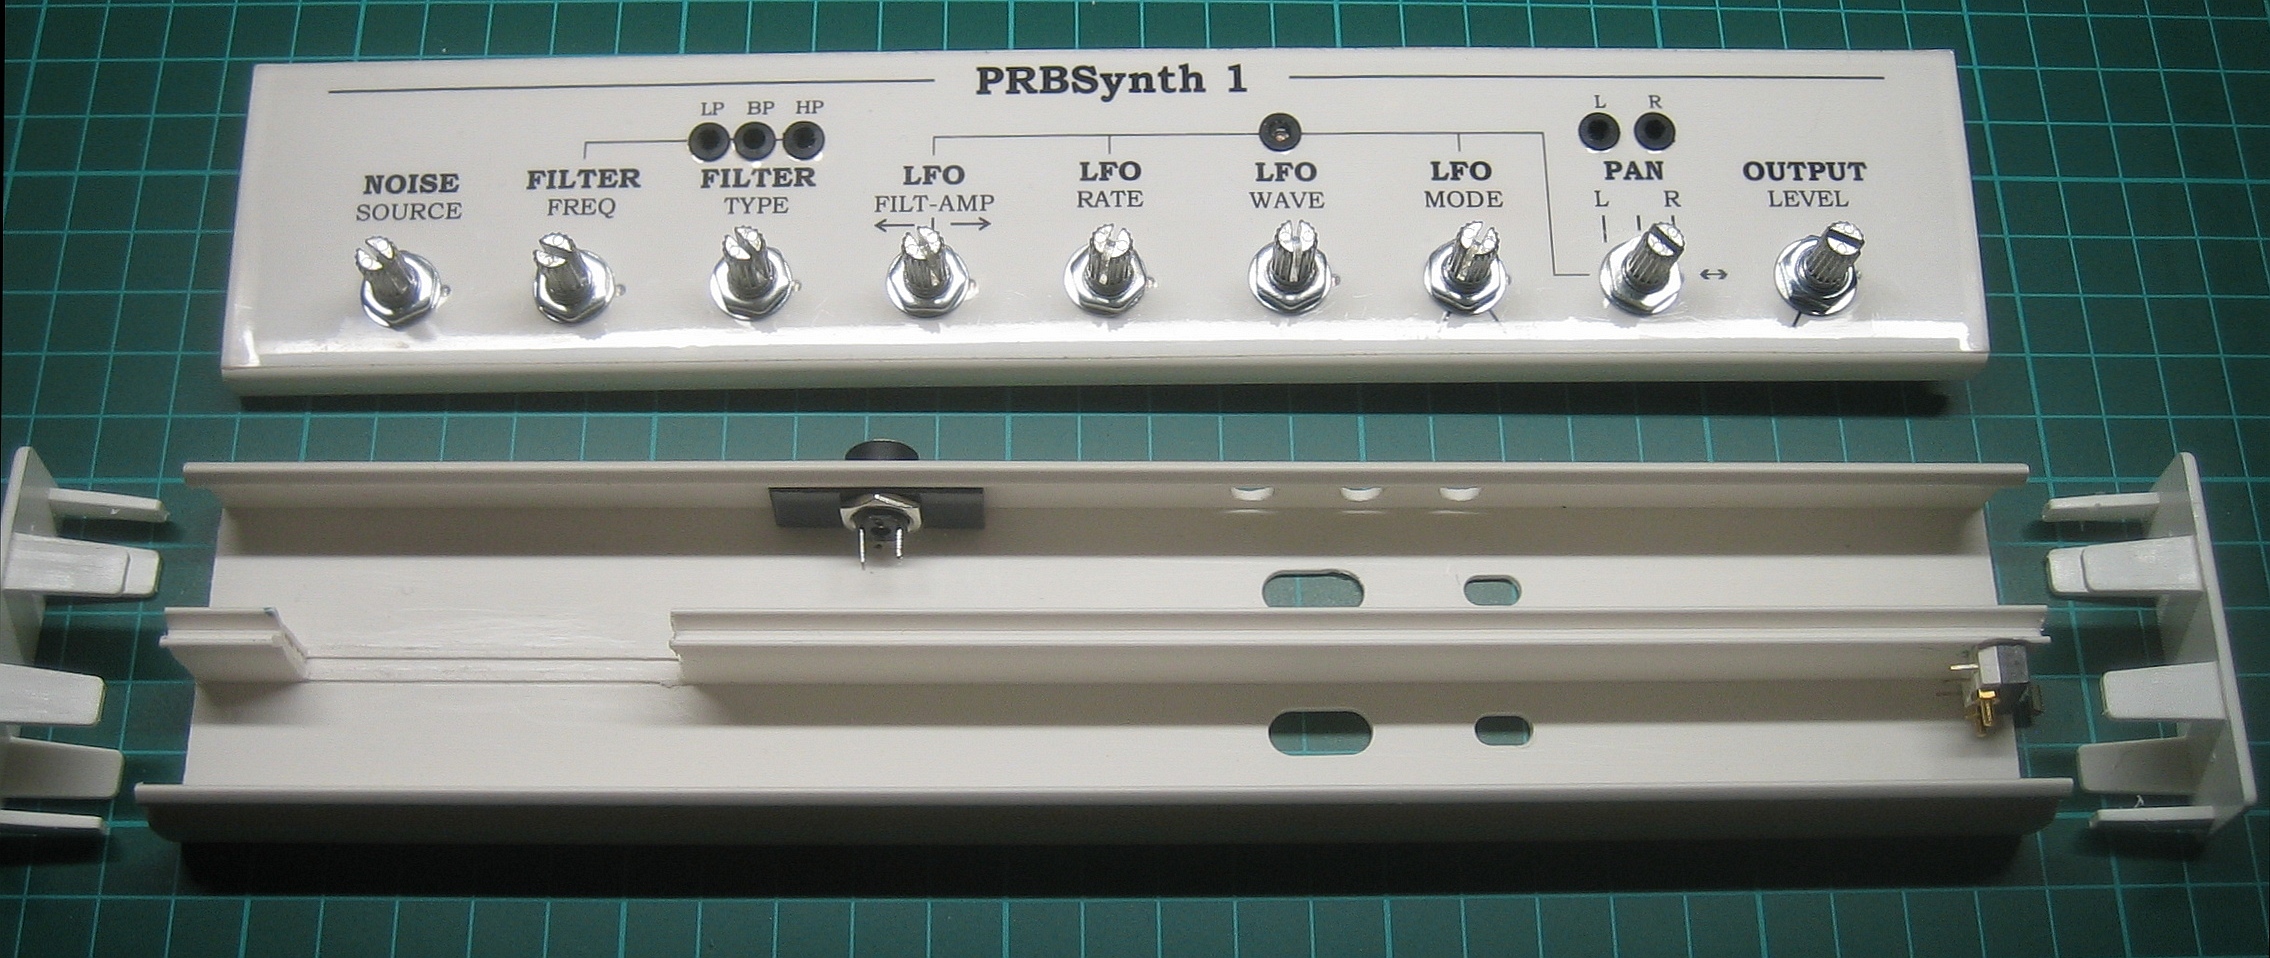
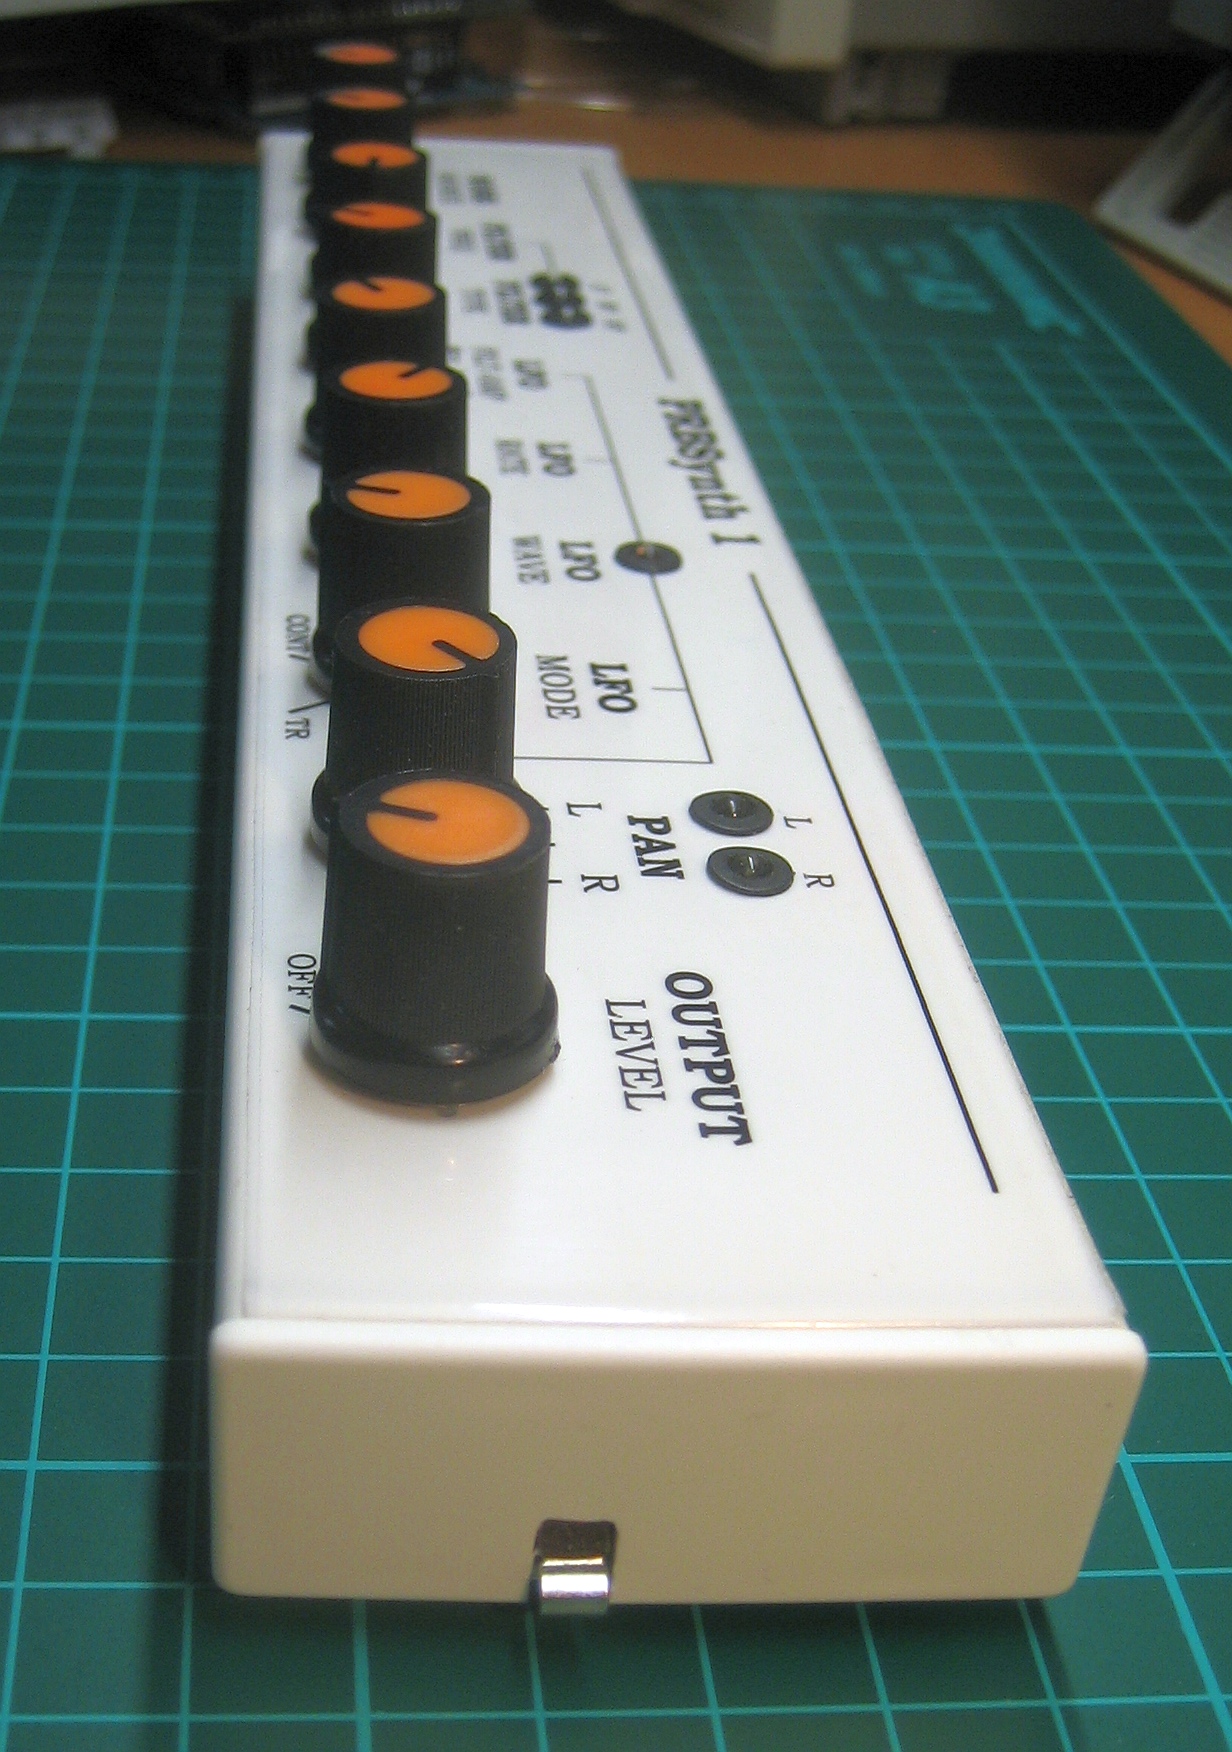
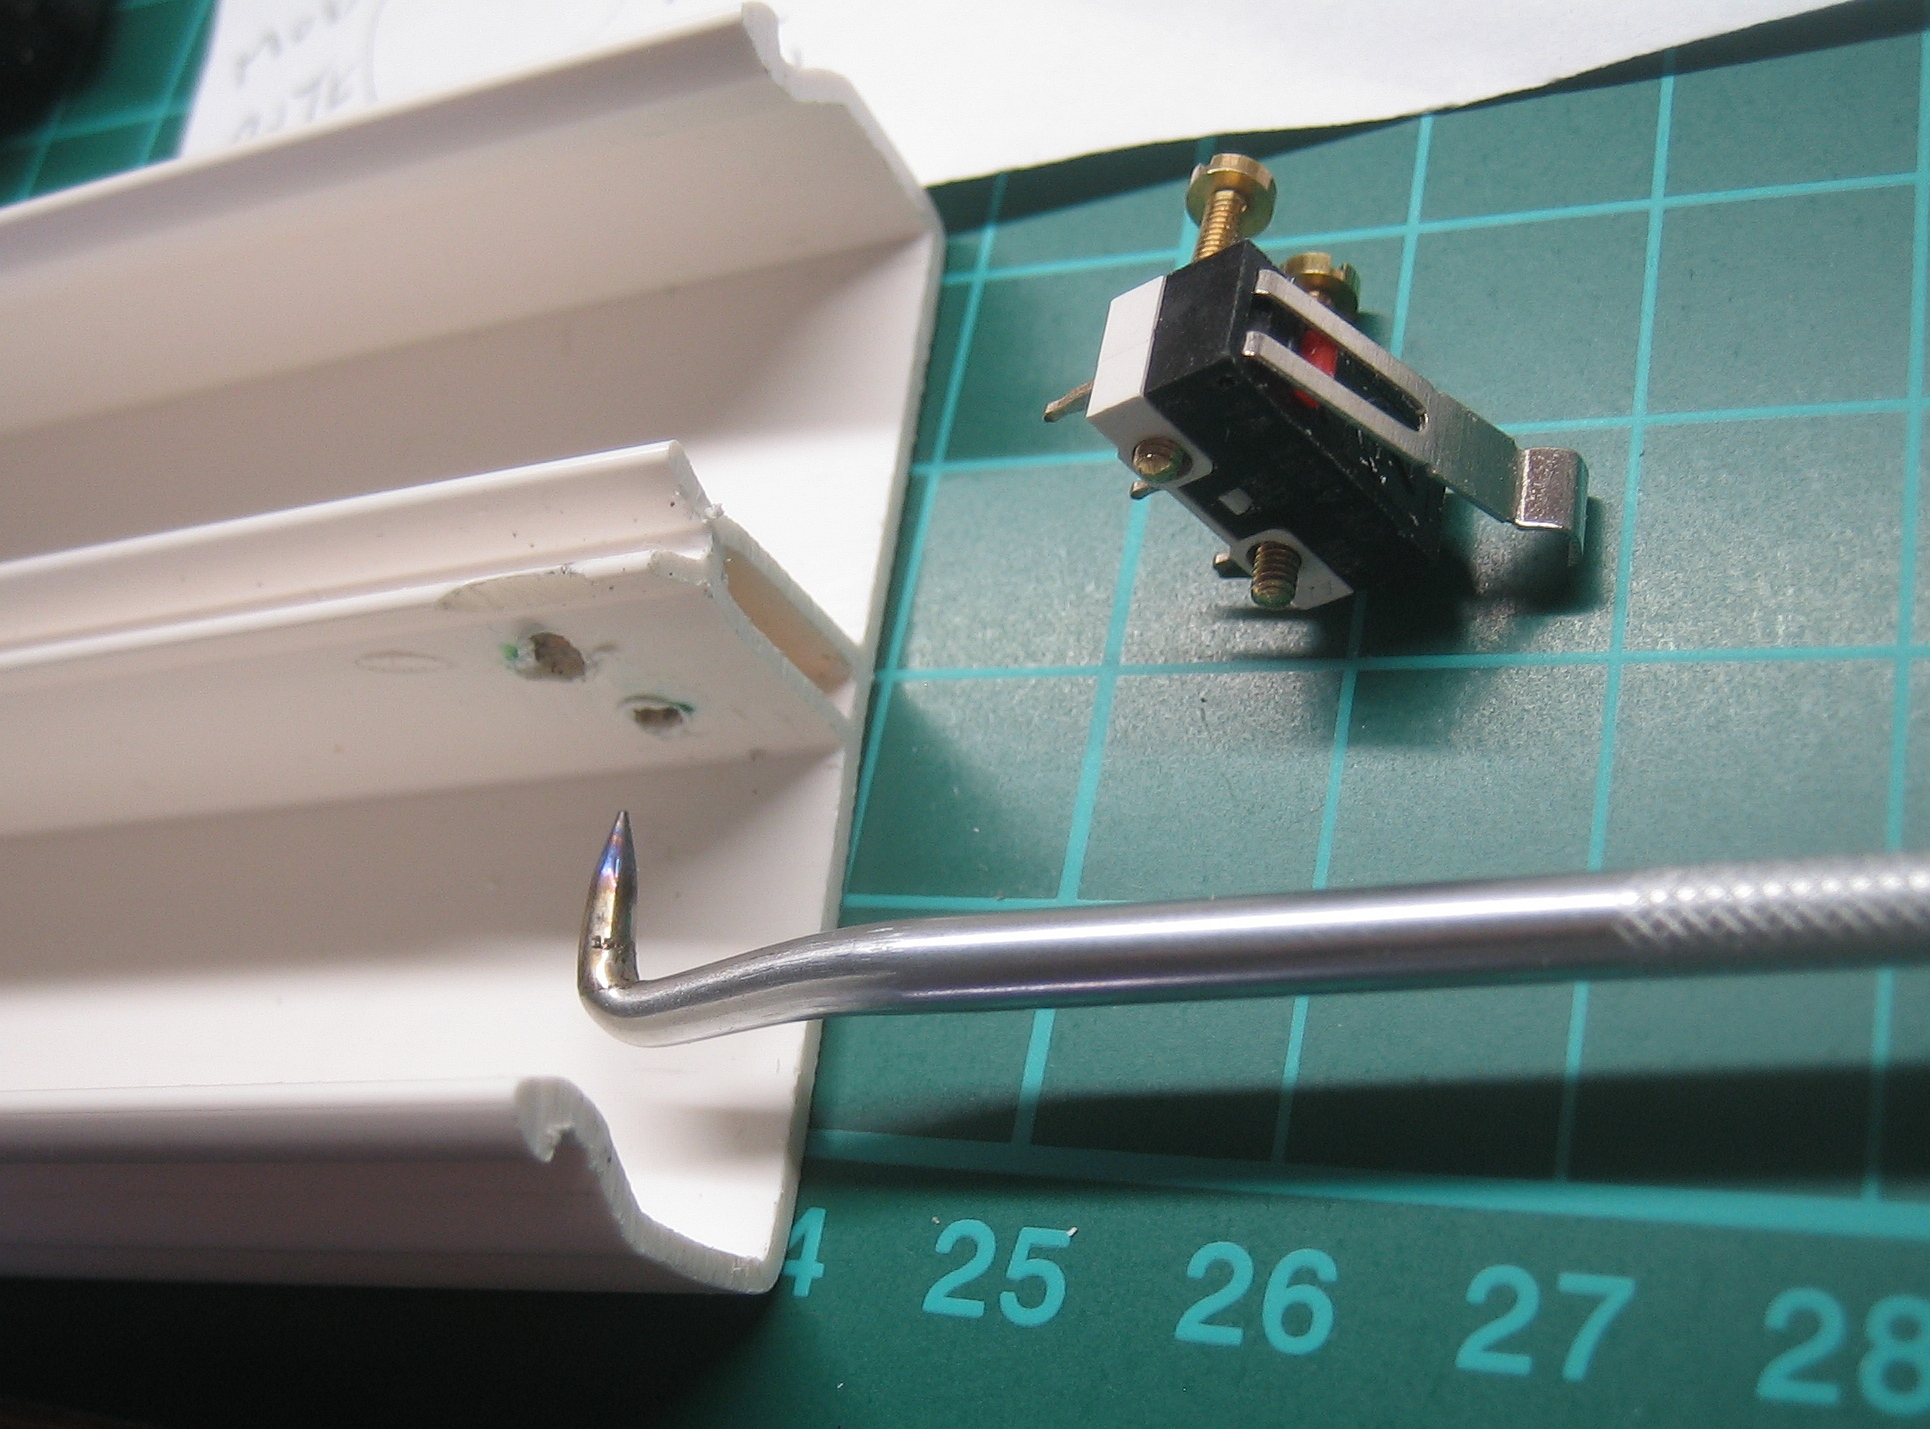
make mounting holes by melting via a heated pin
In contrast to my other synths, the audio processing is mostly software based. software basics
The panning circuit is the only analog audio circuit (no chips, using just 2 diodes). This means the hardware could be kept simple. Using the same PCB, you can chose to build this synth in several versions:
For all versions: you do not need additional chips (apart from the optocoupler for MIDI) or transistors.
Basic diagram for the hardware:
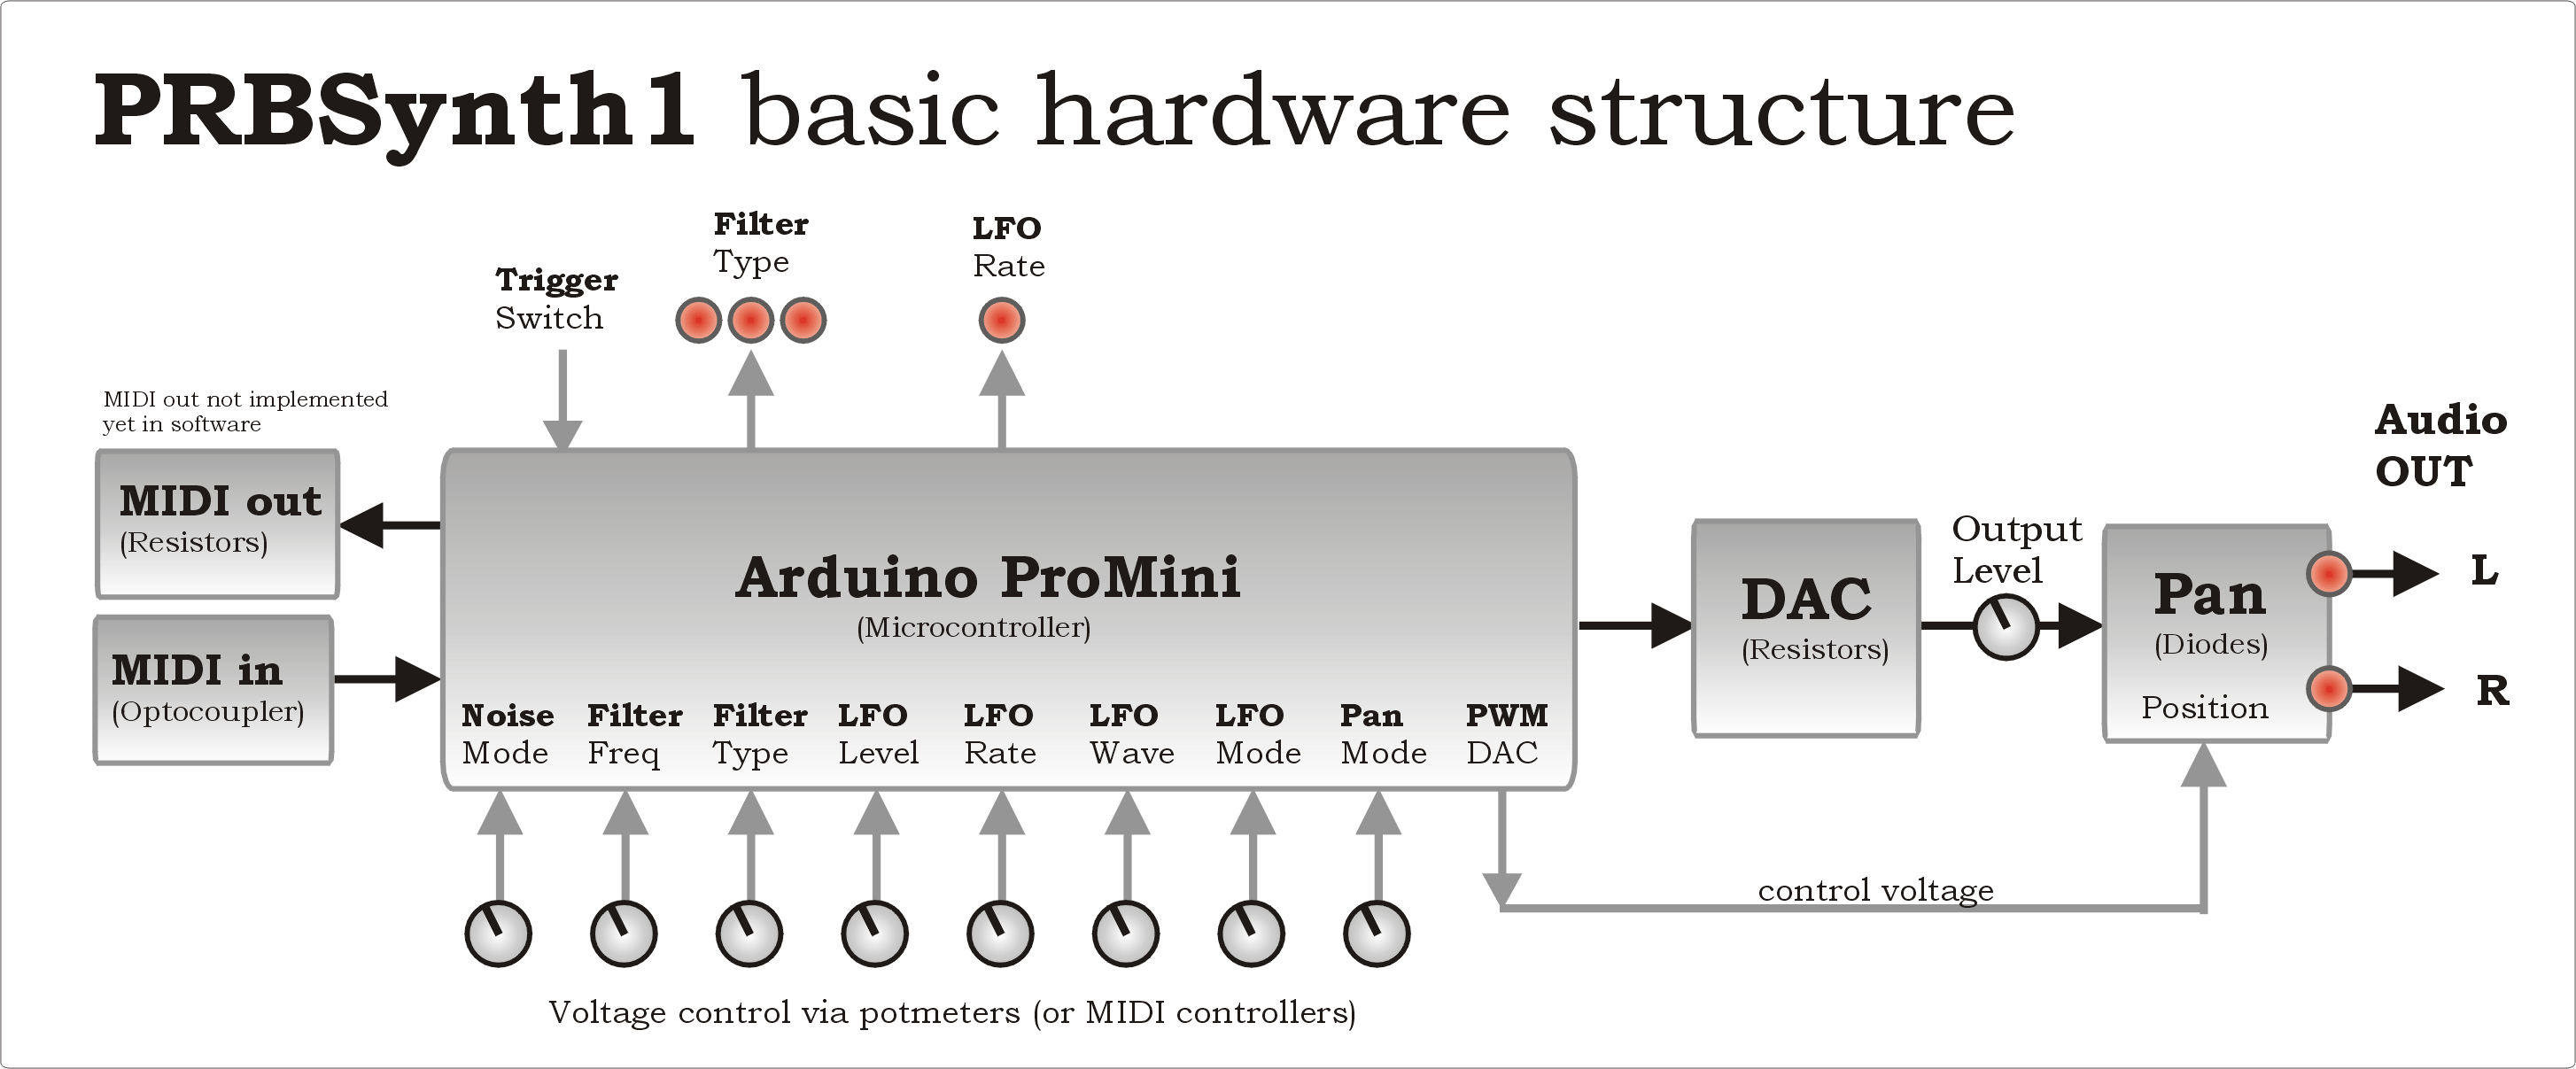
options for building:
1-Full version as is shown here, MIDI+Panning+Potmeter(voltage) control
2-MIDI only with/without panning circuit
3-Potmeter only with/without panning circuit
4-Voltage control only with/without panning circuit
circuit diagram PCB full version
circuit diagram PCB minimal version no panning, no MIDI
circuit diagram breadboard version using Arduino UNO no panning, no MIDI
The last version is a good starter in case you want to use breadboard instead of the PCB.
Basically you only need the Arduino, resistors, capacitors, LEDs and the potmeters.
Note on the Arduino model for PCB use: Use Arduino ProMini 16MHz, 5V
For PCB-mount pin layout use this version: check A4-A5 A6-A7 locations
Although an Arduino ProMini is used here and is needed for fitting on my PCB, if you want to prototype or do your own design: the code would run on other Arduino's that use the same uP like the Nano or Uno, but for the Uno you are restricted to 6 analog in so only a 6 potmeter version can be build with that.
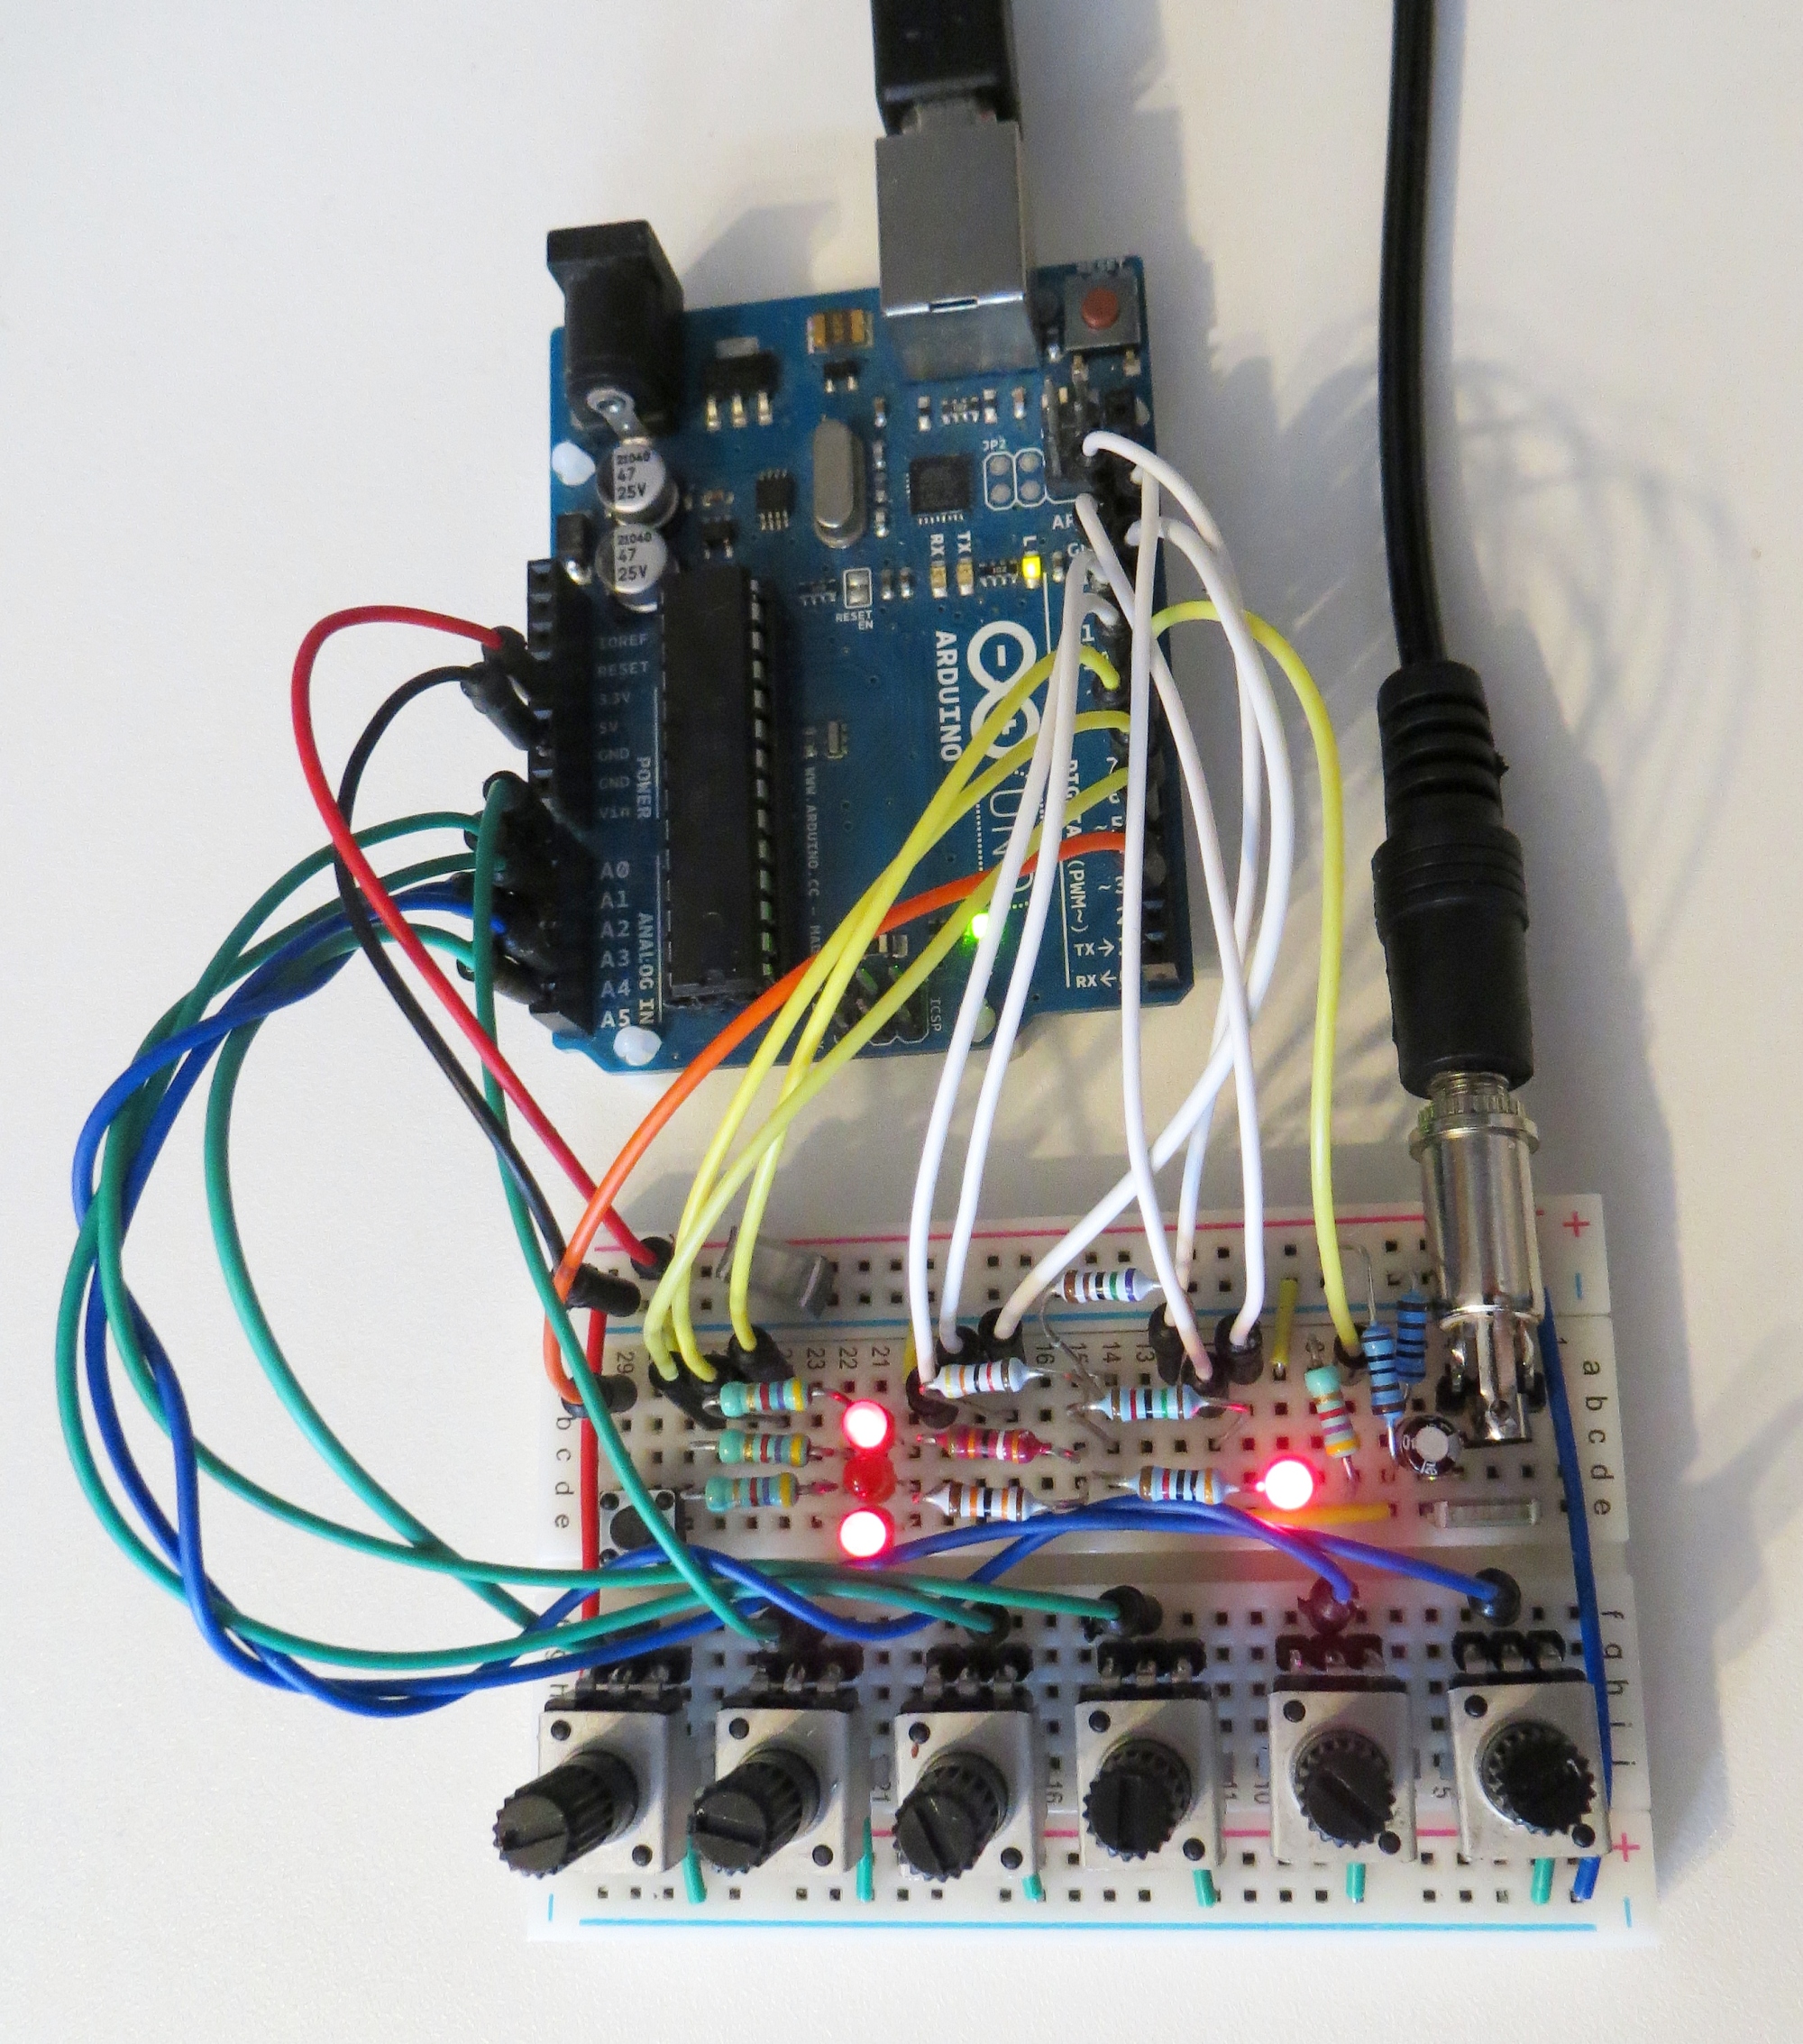
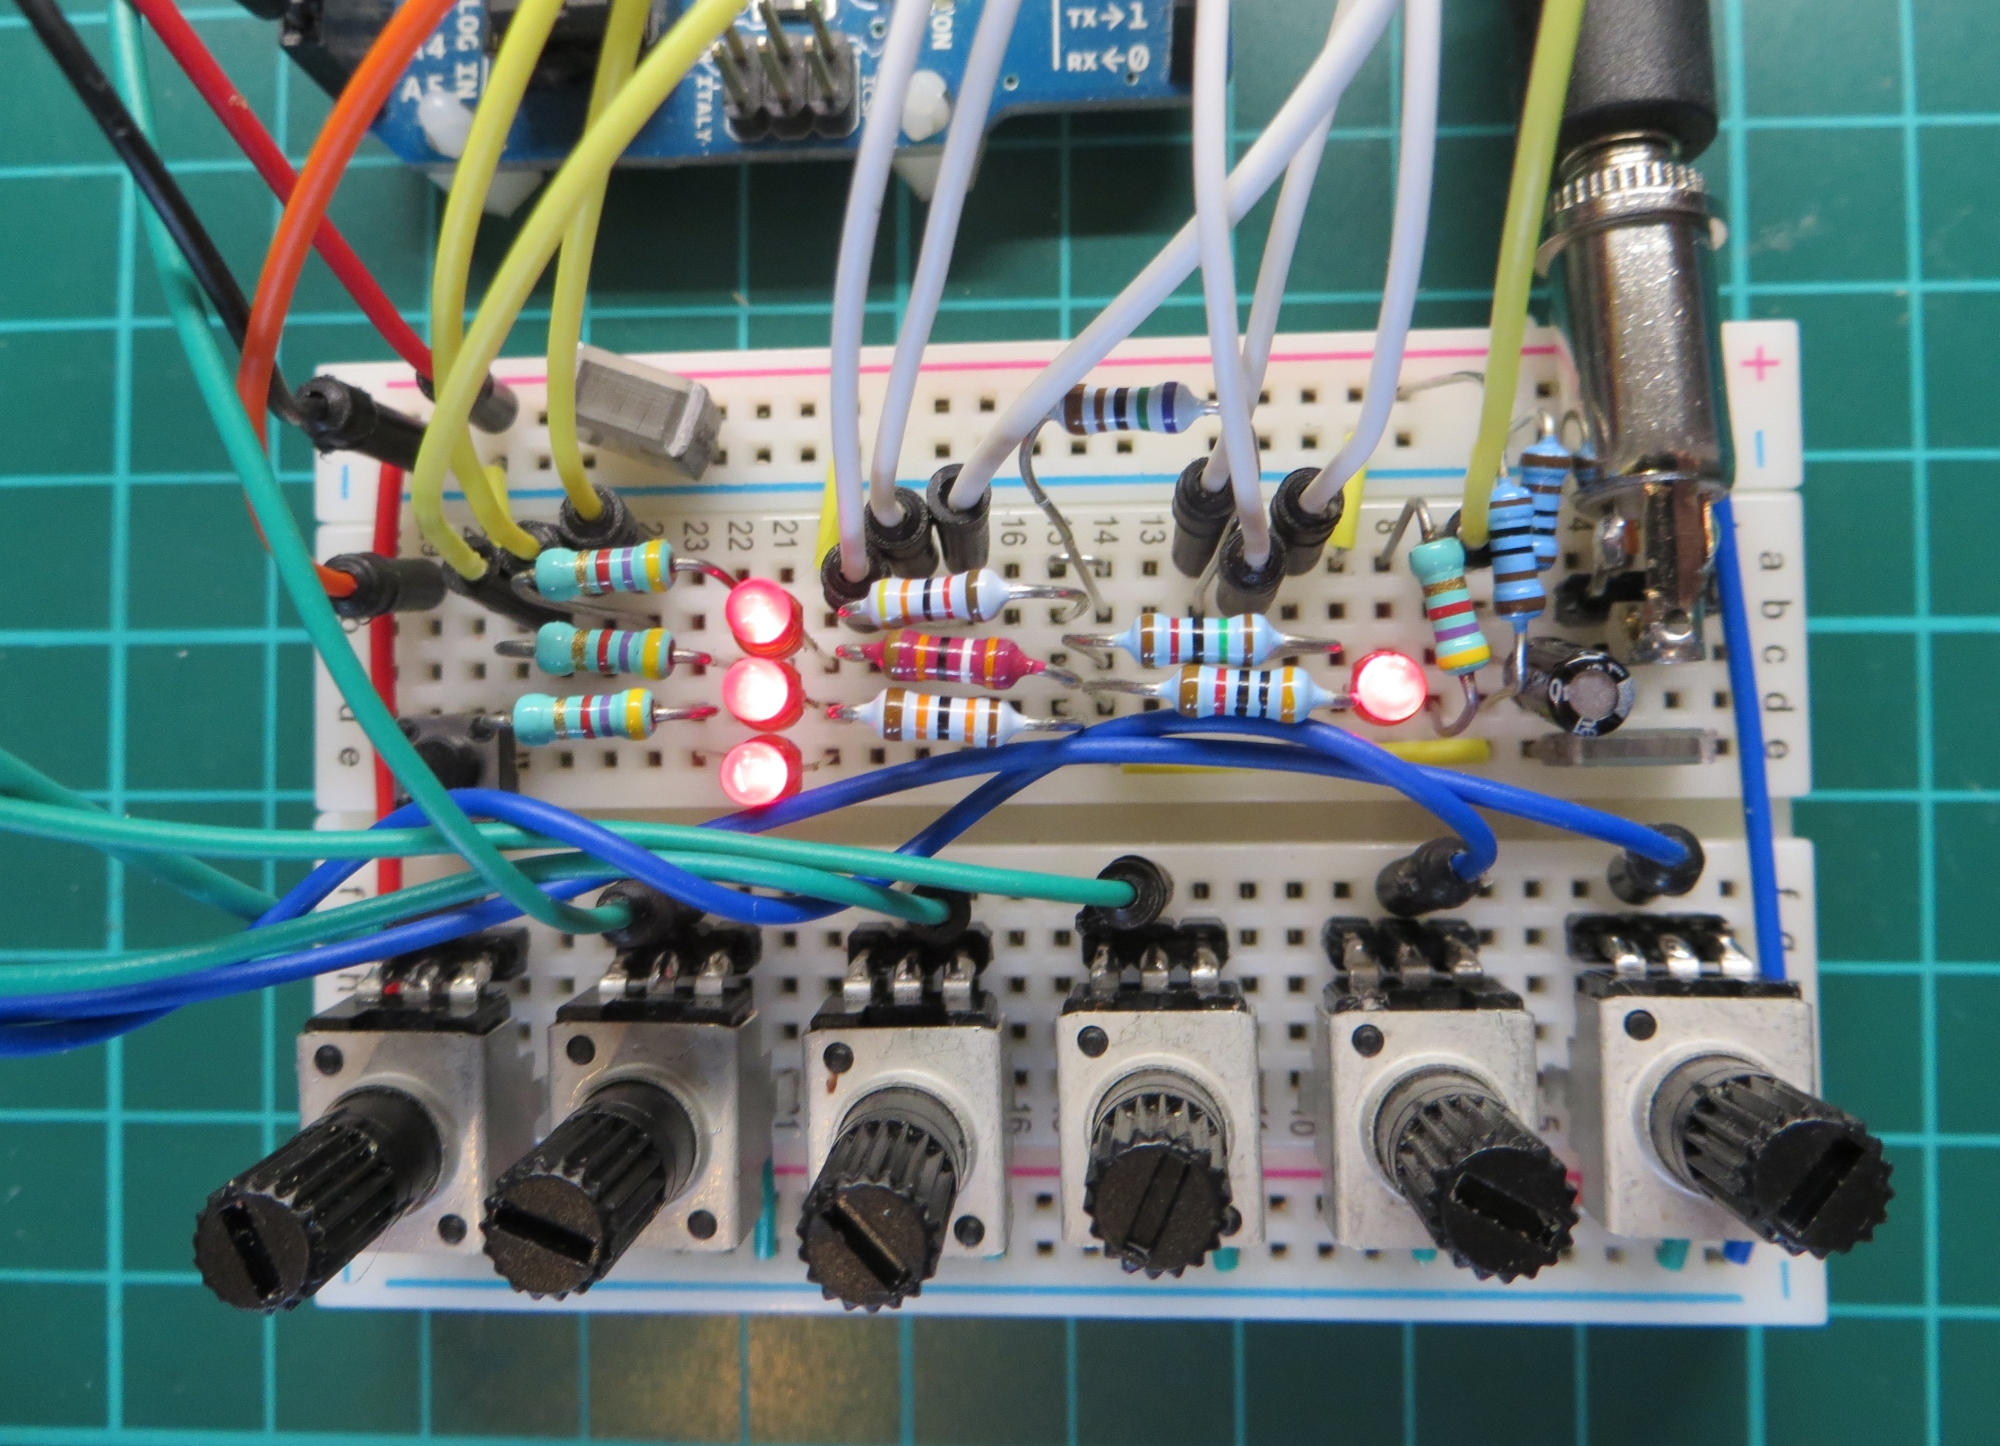
circuit diagram breadboard version using Arduino UNO
code 2v for breadboard version using Arduino UNO

Arduino Nano and added poweramp
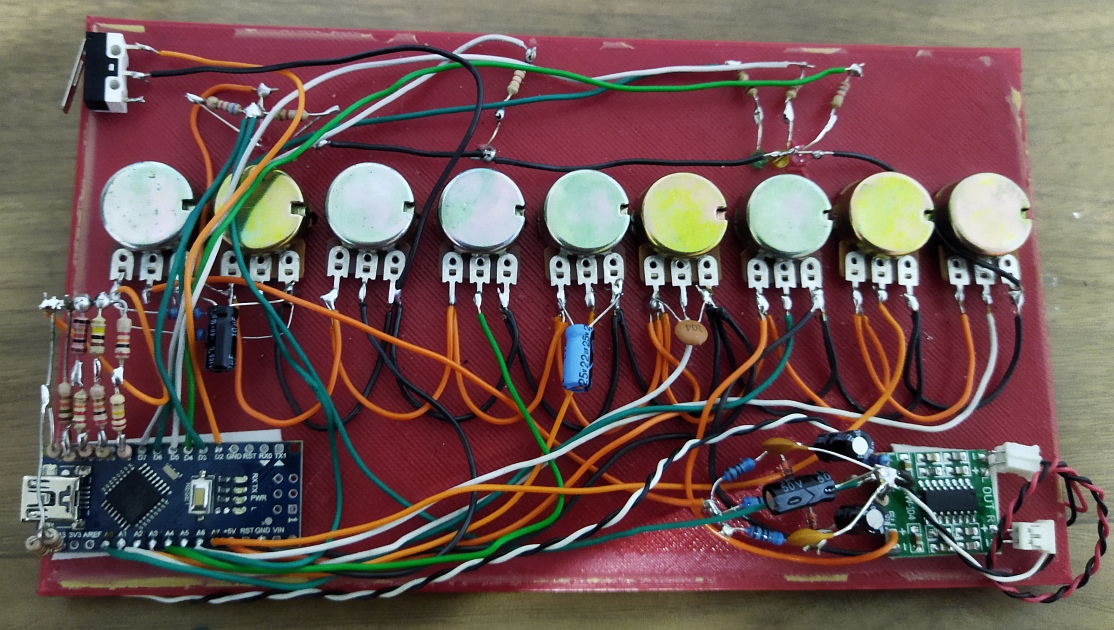

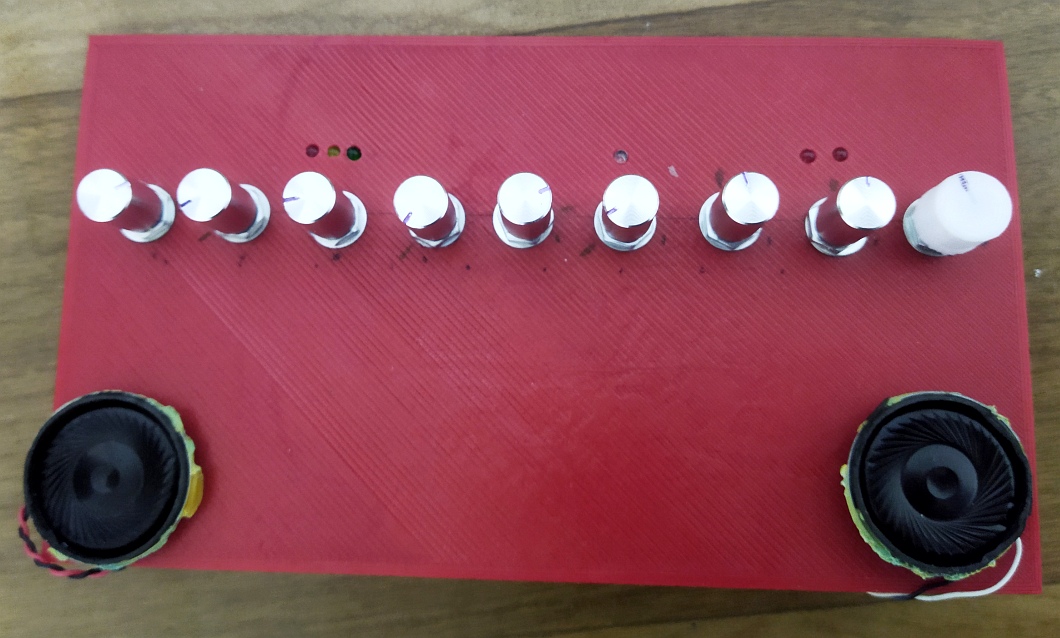

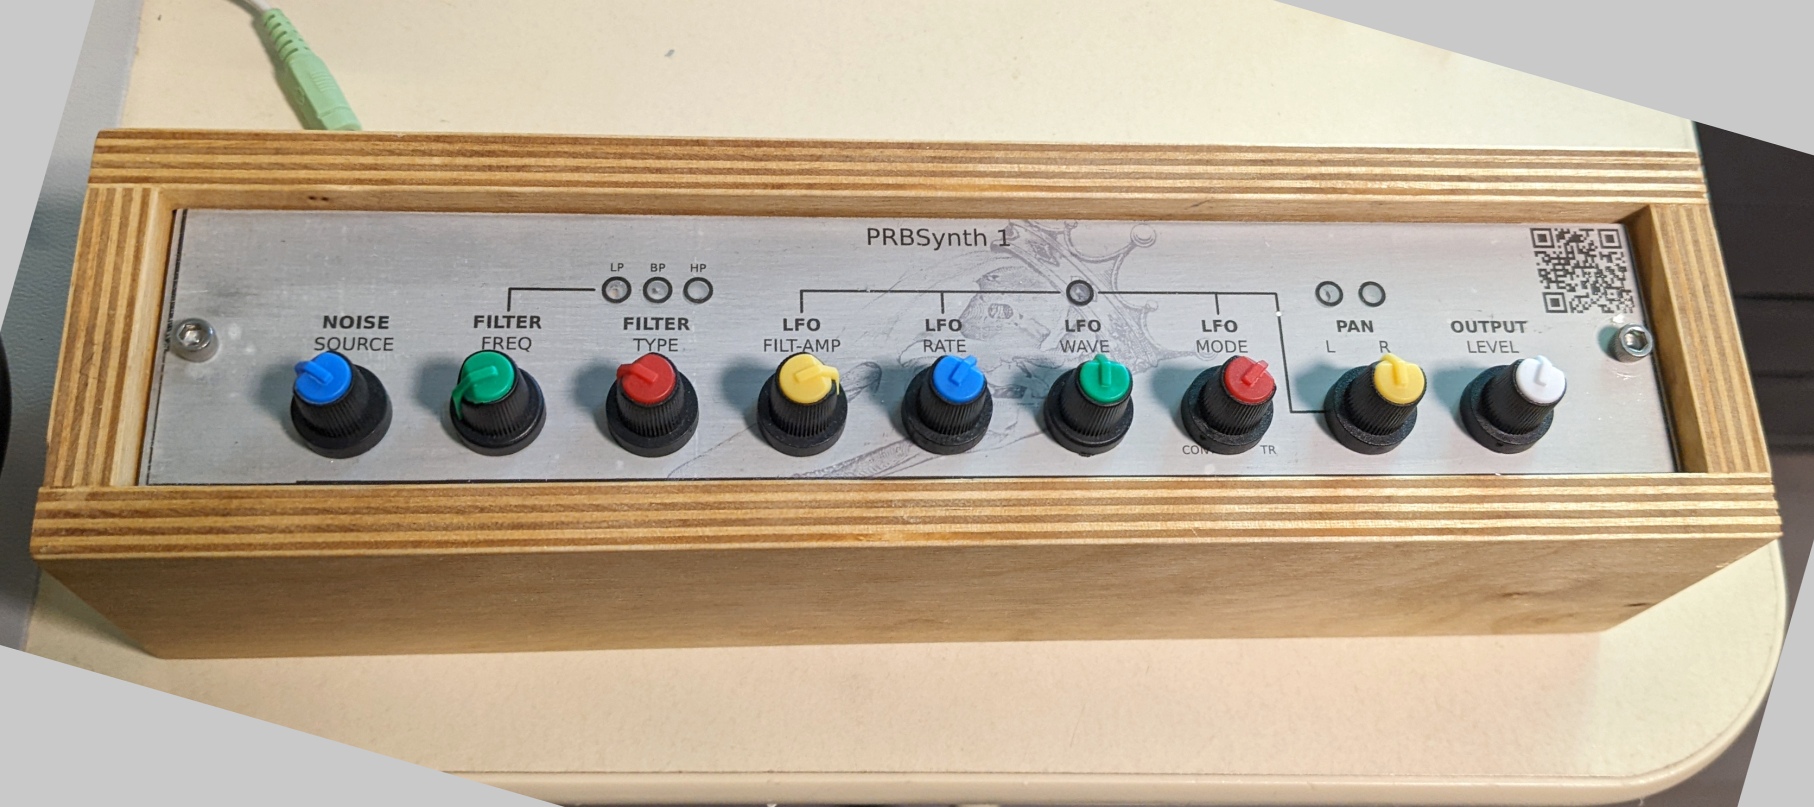
detailed info on the potmeter scale functions
circuit diagram
front sticker and drillmap for making the holes
pcb layout and connections
components info
pcb gerber files
PCB (without components)available at OSH-Park. A link to my order there, no commercial relation
software basics
Arduino code, version 2v, all functions
Arduino code, version 2v, MIDI only, no potmeters
Synthesizer circuits explained Details on noisegenerator, filters and panning circuit